A (visual) sneak peek into Kubeflow
Posted on Thu 27 December 2018 in Generic
Here’s how v0.3.4 looks like, in a glimpse

You have probably heard about Kubernetes. Alright. If you are in the Data Science field, you might be wondering what’s being baked for you based on K8s. Well, for 2018… that’s probably Kubeflow!
Kubeflow is the machine learning toolkit for Kubernetes
It provides scalable machine learning workflows, and since it relies on K8s, it promises infrastructure-free containerized services for machine learning practitioners. In other words, Kubeflow ships with the following services:
-
JupyterHub, for the well-known Jupyter Notebooks and JupyterLab
-
TensorFlow model training
-
Optimized model serving, with support for NVIDIA TensorRT
-
Pipelines to manage experiments, deployments, etc.
That sounds great, finally, no more manual deployment of Jupyter and (re)-adapting those template scripts to train a bunch of models.

My reaction to my first reading on Kubeflow (src: giphy.com)
Thrilled by the glamorous announcements, I thought “Hey this Kubeflow sounds pretty cool, but I’d like to test it”. After I had unsuccessfully searched for screencast demos on YouTube, tutorials with explicative visuals, or step-by-step guides on what you could do with Kubeflow, I quickly realized there’s very little material out there for the final user (e.g. a data scientist like me).
But… how does it look like?
Running Kubeflow
After I had wasted several hours on trying to run Kubeflow v0.3.4 on macOS, I found this Deploy Kubeflow on GKE using the UI to work (almost) seamlessly. All you need is a GCP account and some spare time. After all the steps, you’ll have a running instance of Kubeflow. It starts with a pretty empty UI, this is the entry point to the services listed above.
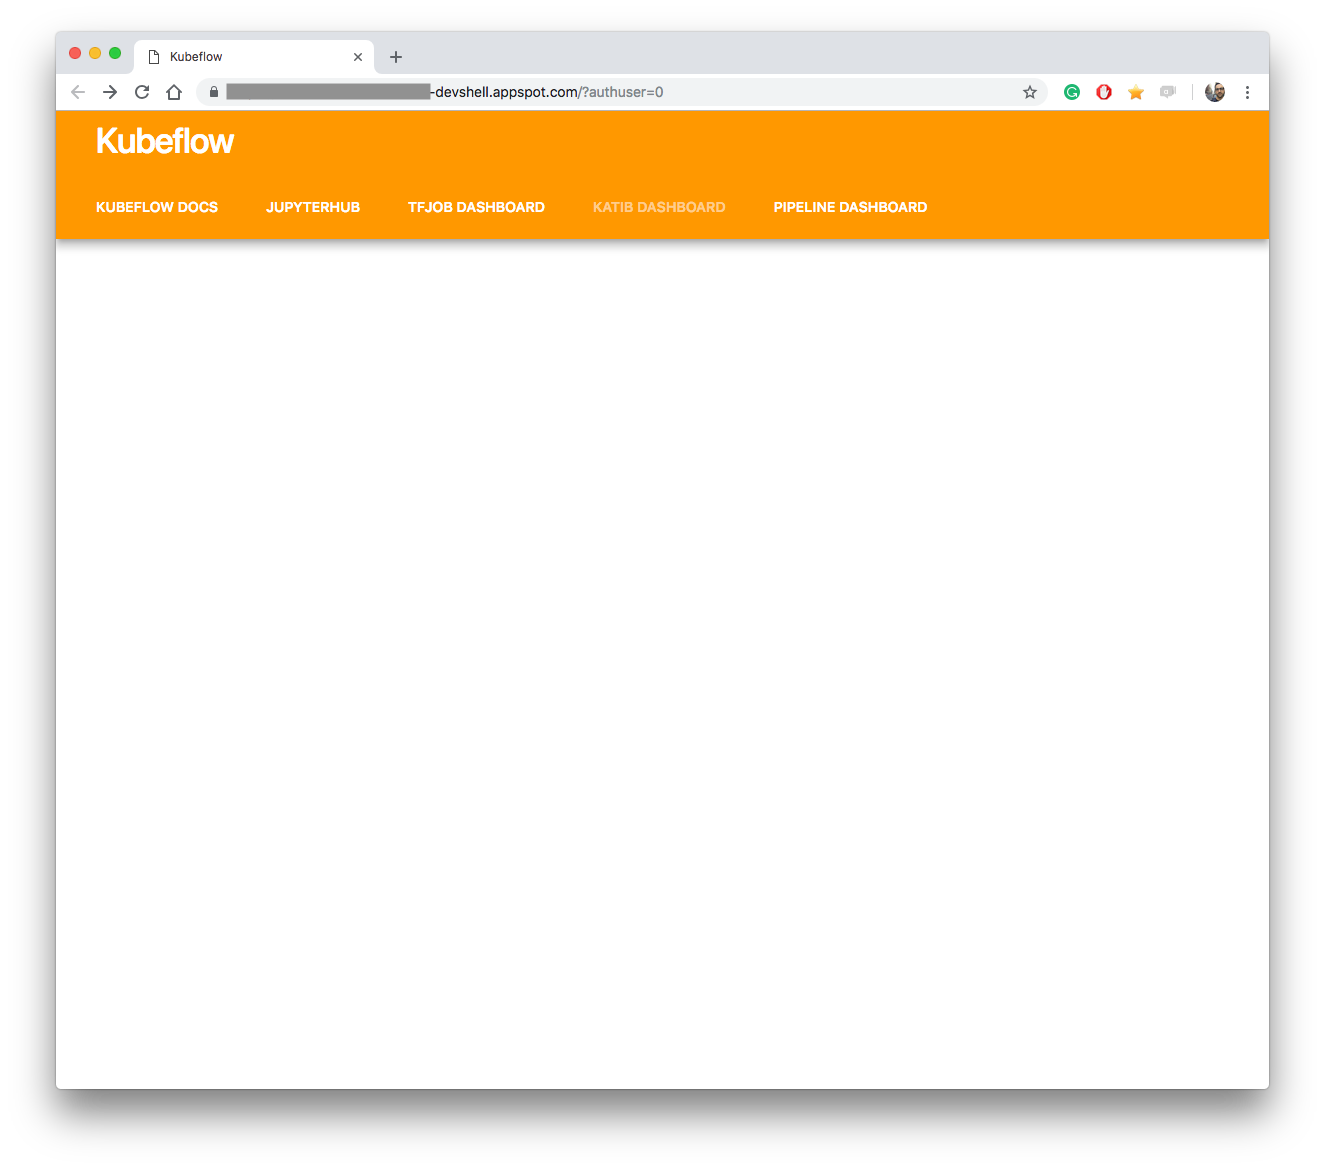 View of Kubeflow v0.3.4 initial dashboard
JupyterHub
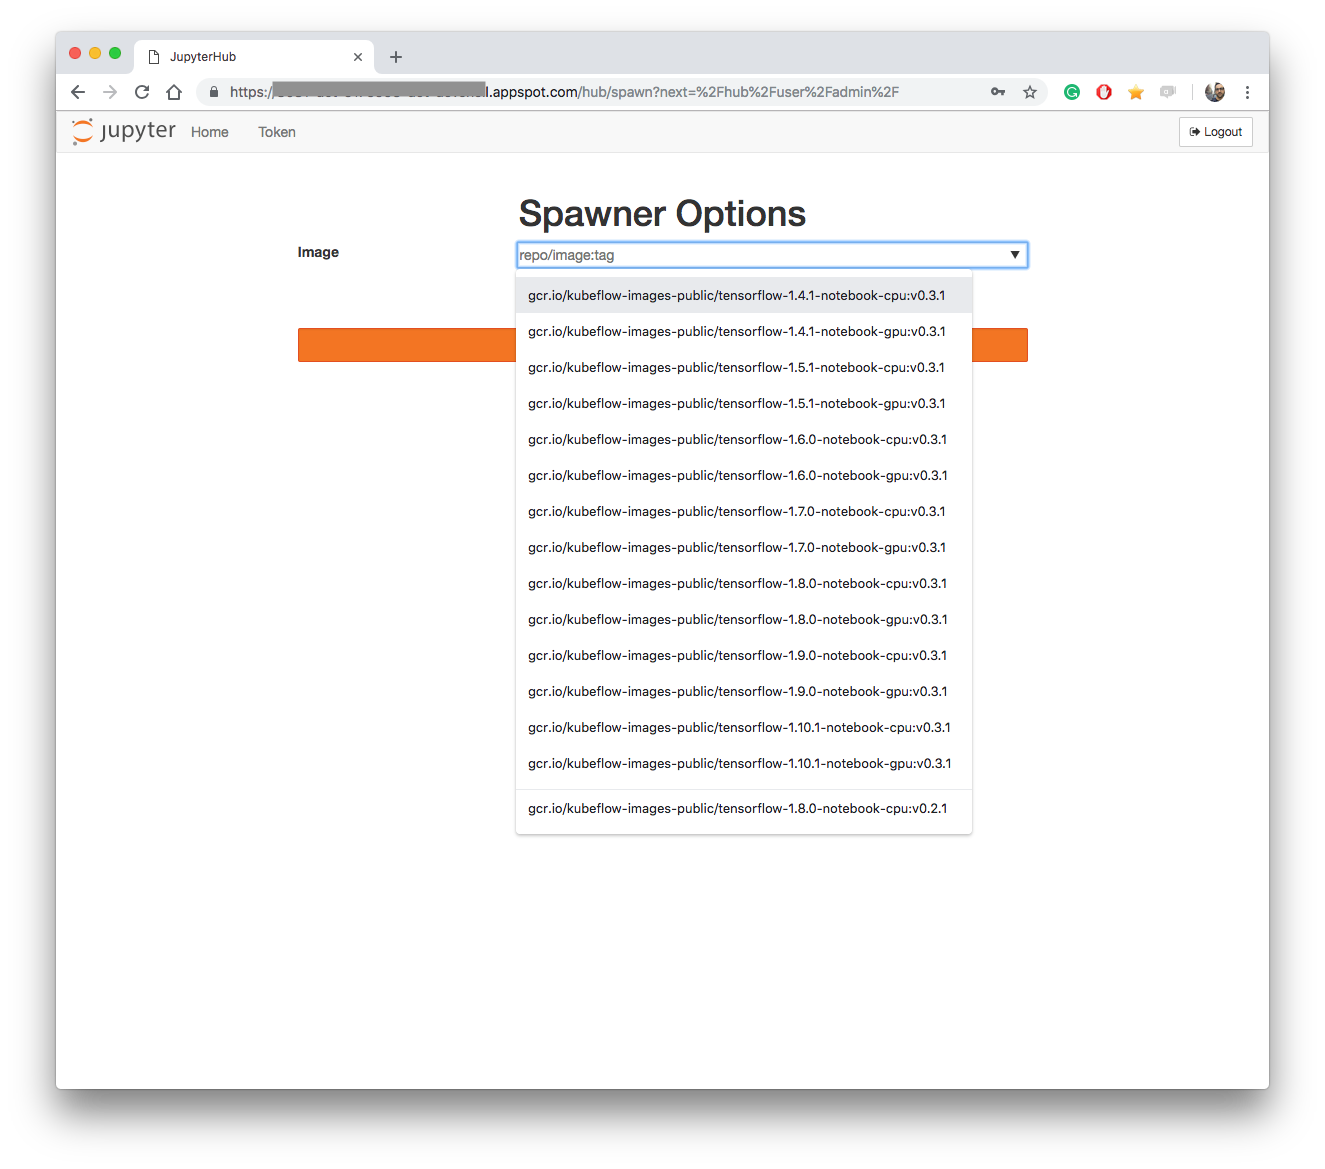
I had a bit of initial hustle with the JupyterHub service due to a “401: Unauthorized” error. However, after starting the server, you’ll be able to select an image for your Jupyter workspace. Note that there’s support for both CPU and GPU in all of the recent tensorflow versions. Kubeflow should be able to automagically provision GPU resources if that’s available in the cluster.
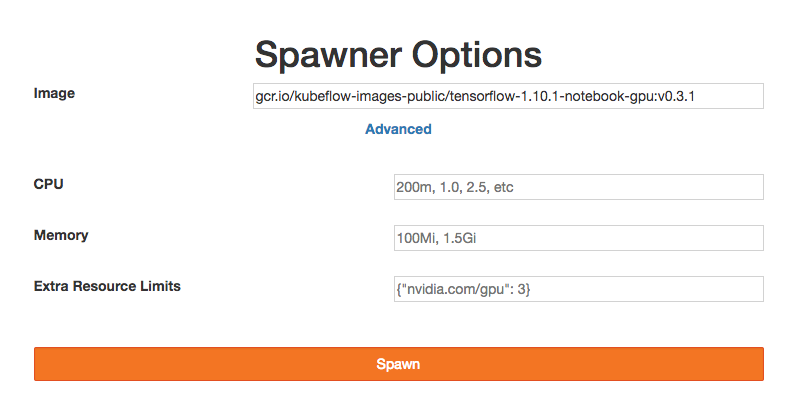
The user can configure details such as CPU, GPU and RAM memory to assign to the Notebook instance.
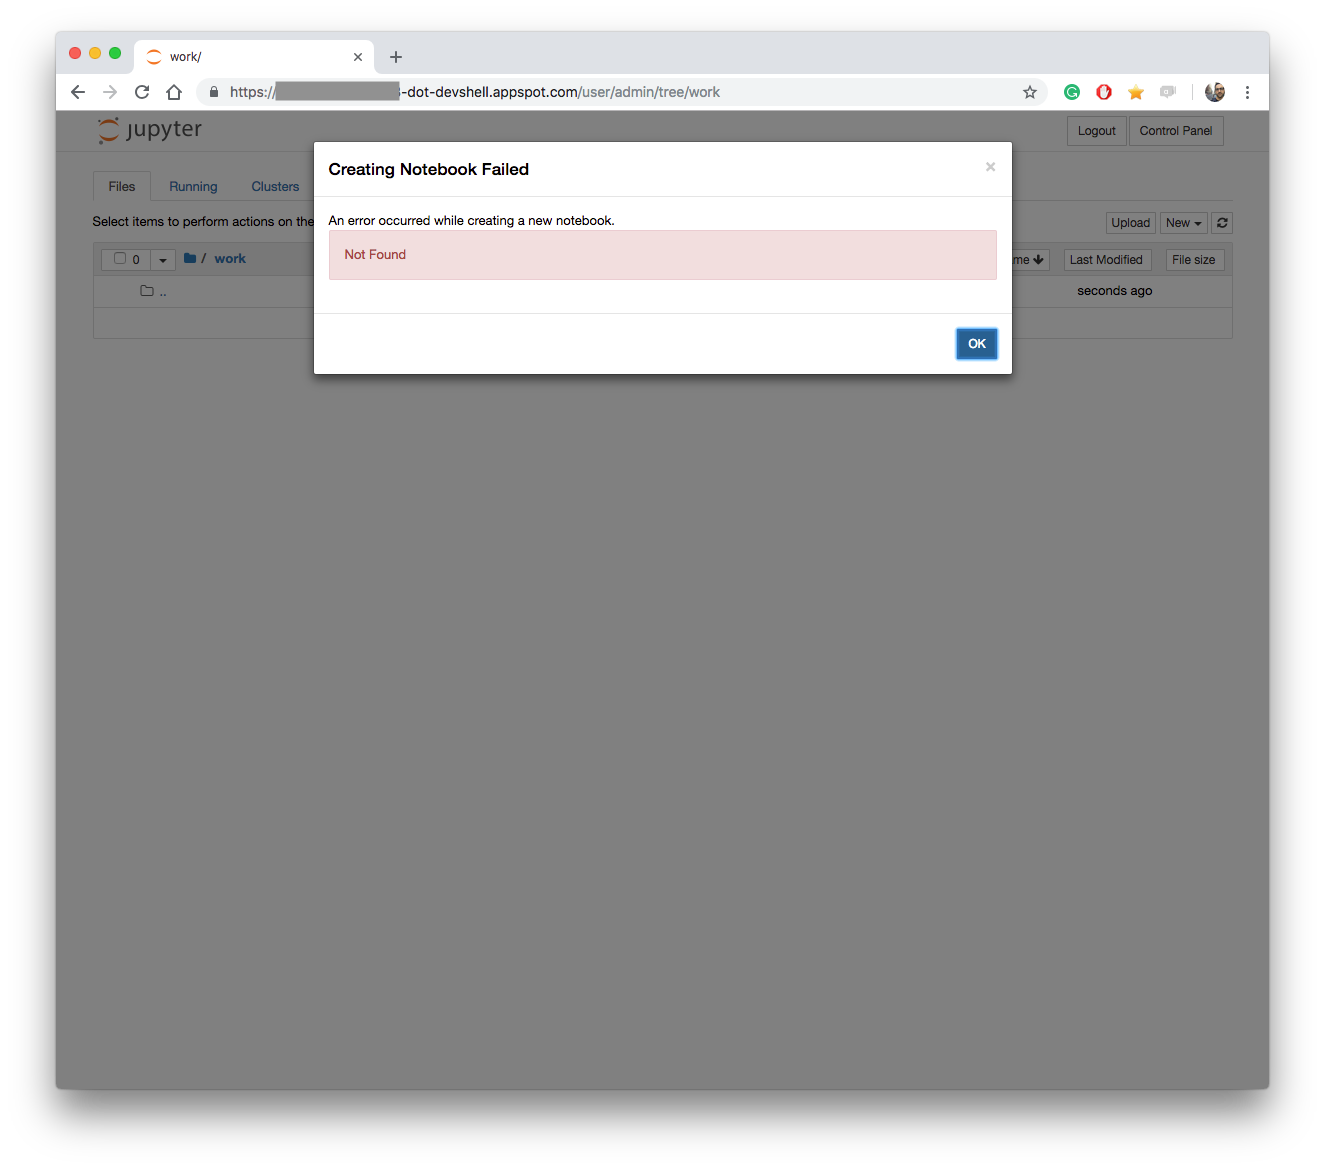
After spawning a Jupyter instance I started exploring around. It comes with 2 Python kernels pre-installed (i.e. py2 and py3). However, I was a bit disappointed about not being able to create any Notebook, nor a terminal window. It’d just fail with a cryptic “Not Found” message.
Need more info? Check the jupyterhub/kubespawner docs.
Tensorflow Job dashboard
The TF Job dashboard is the component you can use to run TensorFlow training jobs. Since there’s K8s under the hood, I’d expect this to scale out smoothly and map the training jobs in a smart way. The UI is pretty basic here and you can create and monitor jobs, as well as managing them by namespace. Here’s how it looks like:
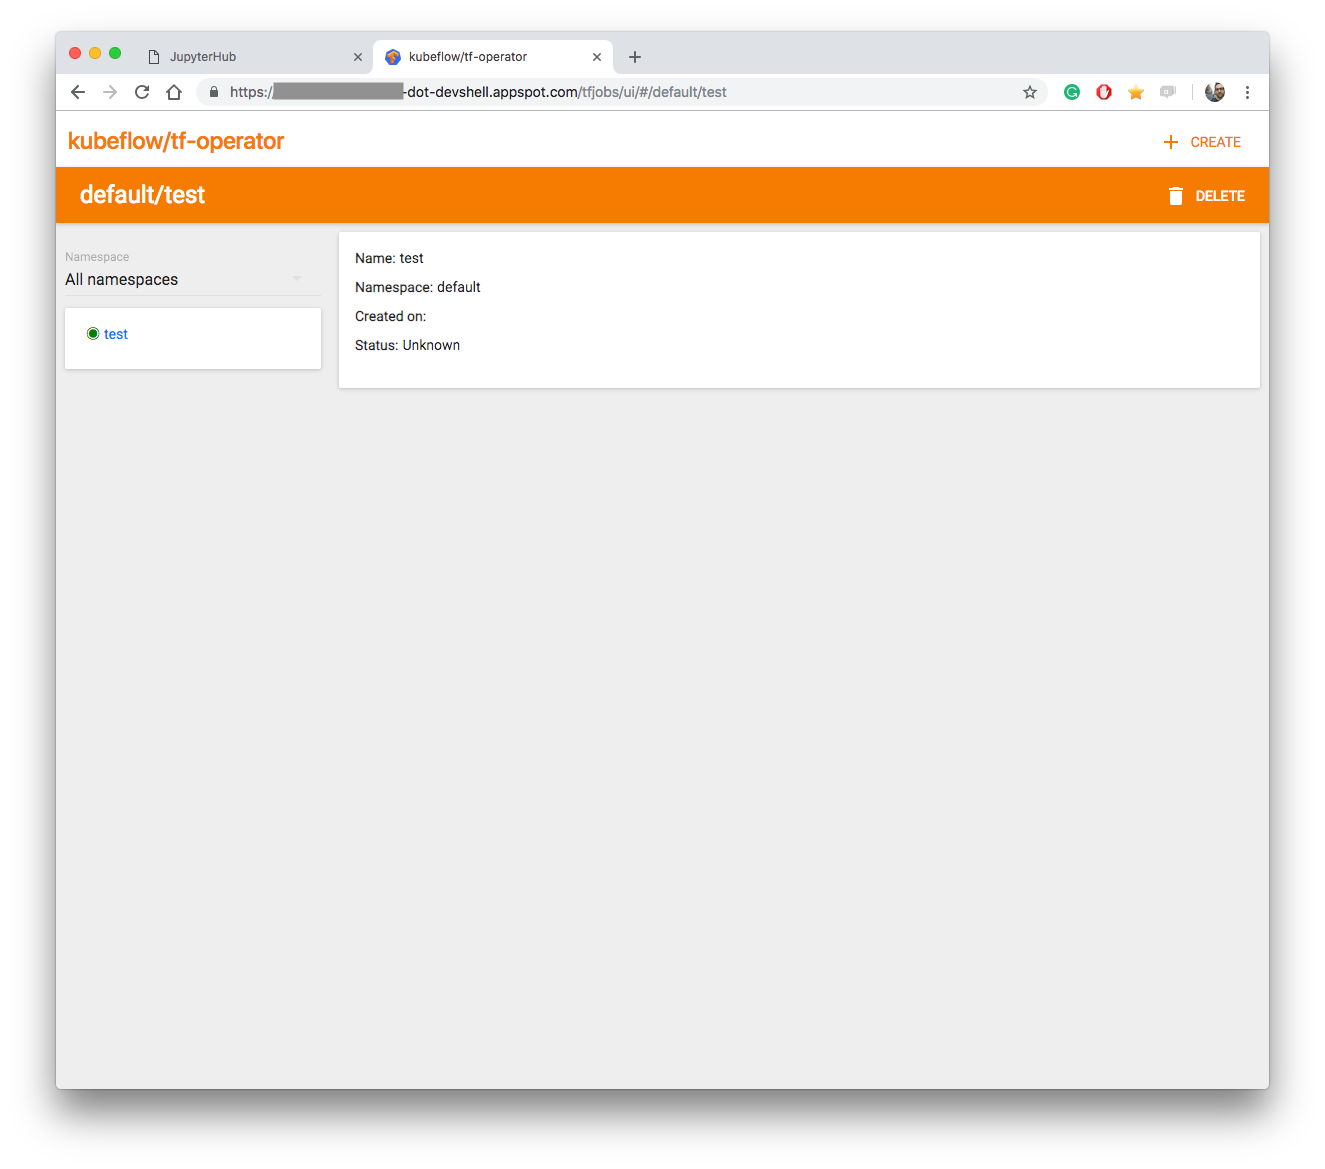
Want more info? Check the kubeflow/tf-operator docs.
Pipeline dashboard
This is the place where you compose and build data pipelines, and manage running experiments. You build an ETL pipeline with visual tools.
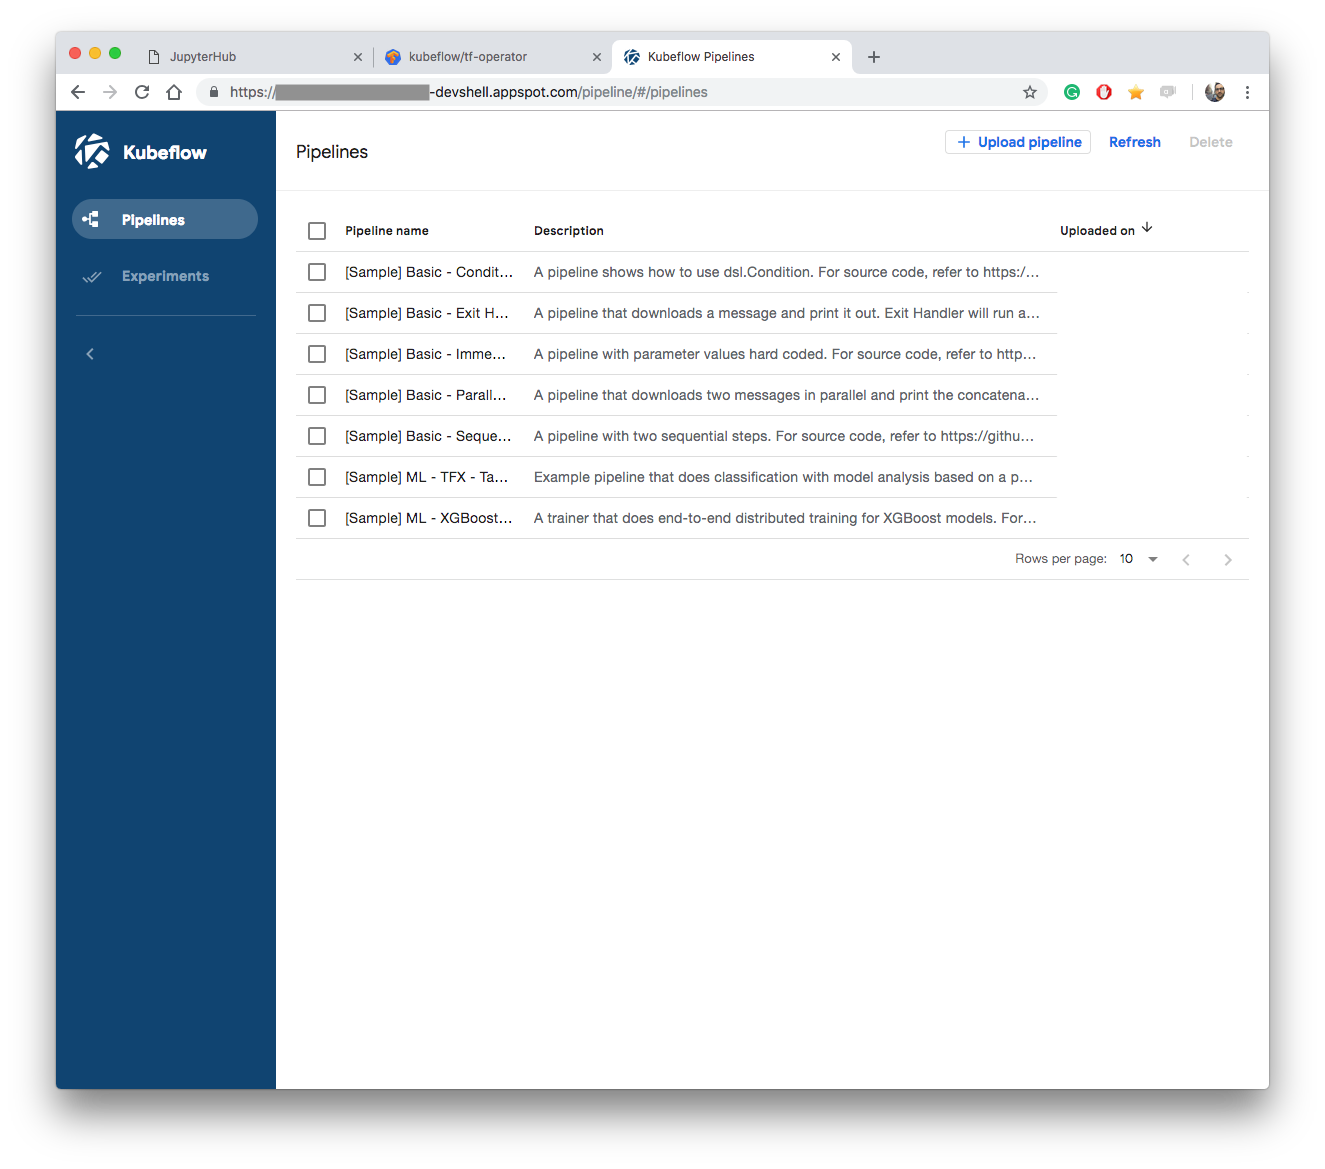
More info on kubeflow/pipelines here.
Conclusions
I’d have liked to say more about Kubeflow but the v0.3.4 seemed pretty unusable for me. Although v0.4.0-rc2 is already out (see announcement), I didn’t find an easy (I mean dummy proof!) way to deploy it for a quick test. It comes with all the tools you need to set up an analysis environment: Jupyter, model training scheduler, and an experiment dashboard. Once these three will be fully working, machine learning practitioners will have a scalable and flexible workbench to play with.